Stripe — Creating an Invoice and Navigating the Billing TabUpdated 3 years ago
Billing Tab
The Billing tab helps you stay organized with invoices and allows you to create invoices.
Billing Tab Filters & Function Video: https://youtu.be/3foatDesLL8
Create an Invoice Video: https://youtu.be/CLi2KnaBLPs
Filter Options
Option to isolate by date, technician, service types.

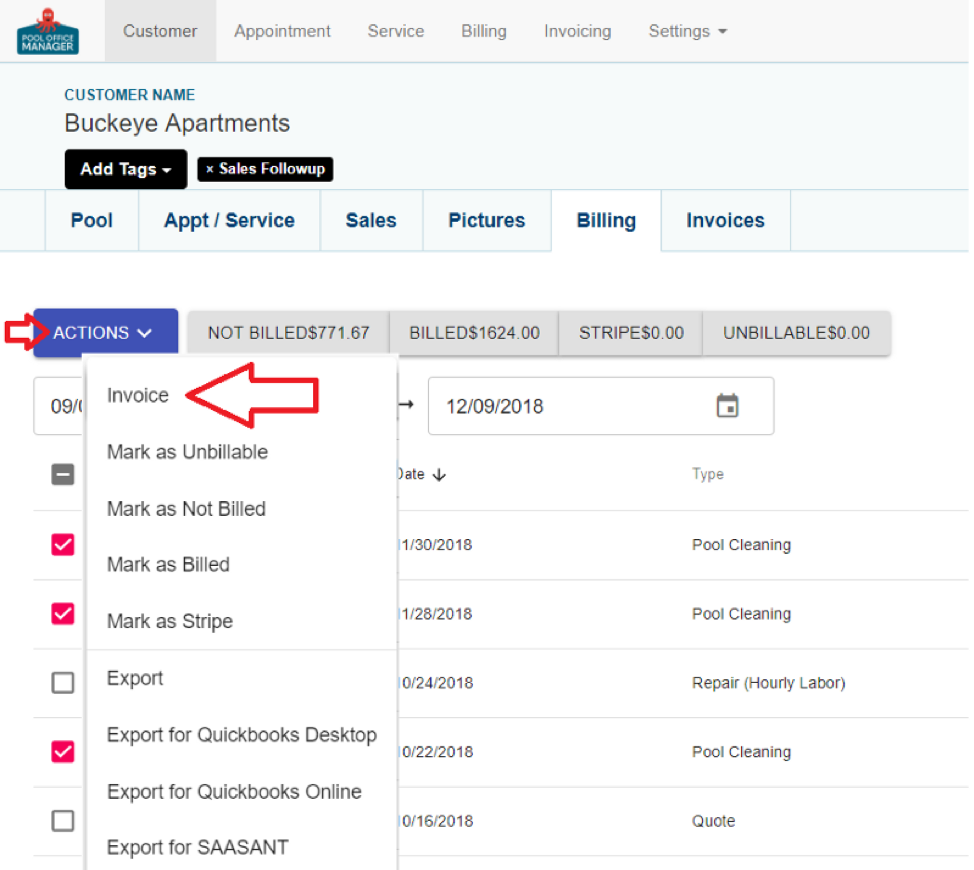
Billing Status Options
Billing> Billing Status

Choose one of the Billing Status options to filter your customers
Not Billed – An invoice has not yet been sent to the customer
Billed – An invoice has been sent to the customer
Stripe – Invoices that have been sent through Stripe
Unbillable – Services that you are not getting paid from
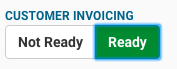
Once you create a service report, you have the option of choosing whether or not to set the service report as ready to invoice the customer or not. In the Billing Tab, you can choose to filter by this criteria to target customers who are ready to invoice.
Invoice With Stripe from Service Reports
Billing> Billing Status
-
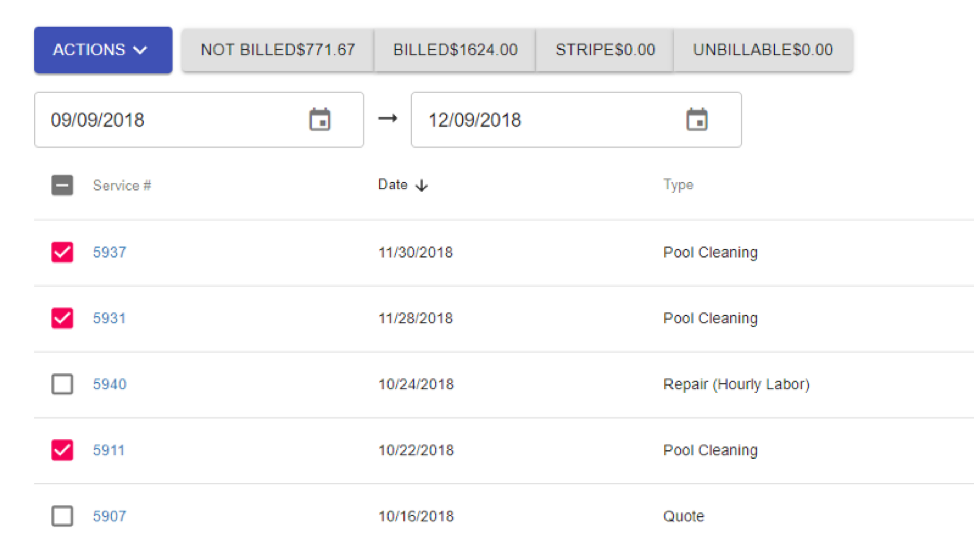
Select either an individual service or a customer to invoice.
-
If a customer has multiple services, you can click on the row to open up individual invoices
-
Check either an individual service or click the person’s name for 1 invoice that covers all their services that need to be invoiced.
-
Select Create Invoice
-
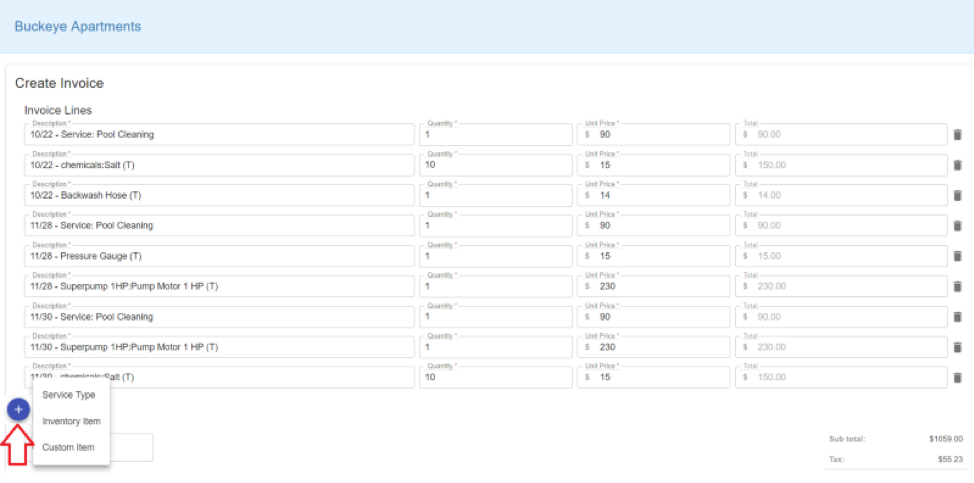
Review all the Invoice charges and costs. You can edit to make changes to price, quantity, items etc.
-
To add a Custom Item onto the invoice, click Add button (plus sign +) thenCustom Item and a blank line item will appear for you to enter the details as well as the Quantity and Price.
-
You can also click the Add button (plus sign +) to add an inventory item or service type.
-
-
When the invoice is complete, choose send invoice. This will automatically email the invoice to the customer in 1 hour.
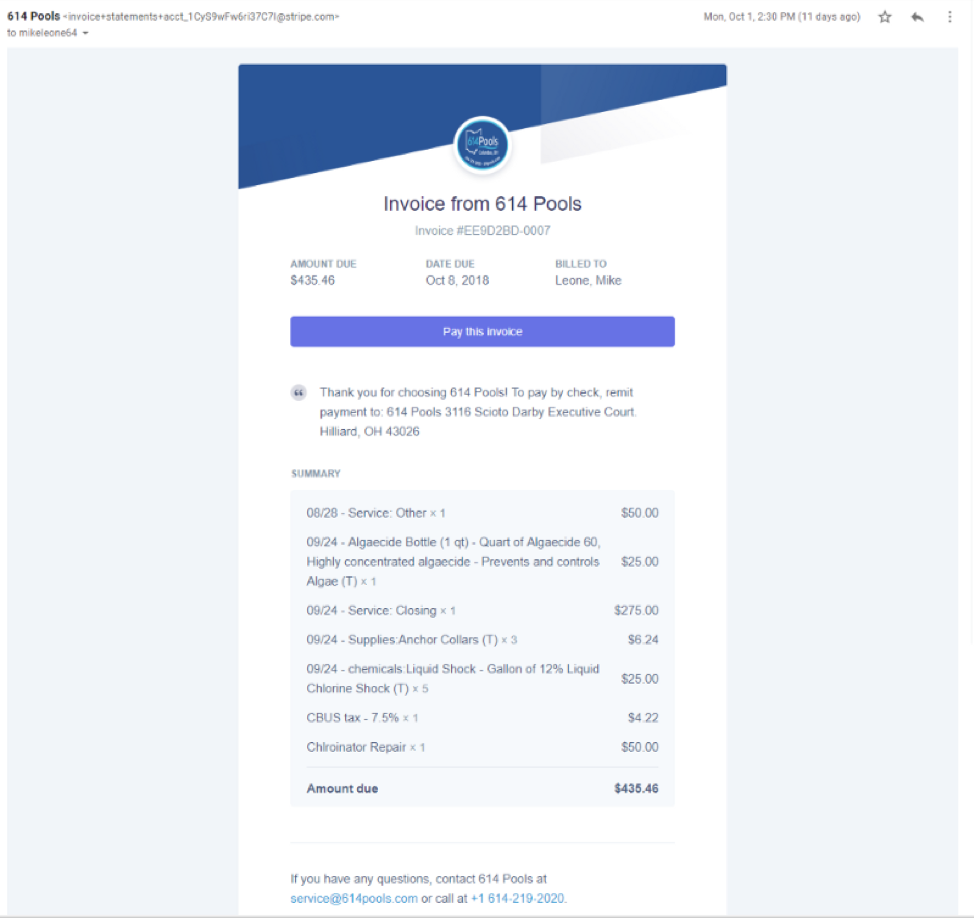
Viewing a Customer’s Emailed Invoice
When you send a customer an invoice through Pool Office Manager, this is how it appears:
Create an Invoice from Service Reports (Alternative Method):
Customer> Customer Profile> Billing> Not Billed (filter)> (Choose Services)> Actions Dropdown> Invoice 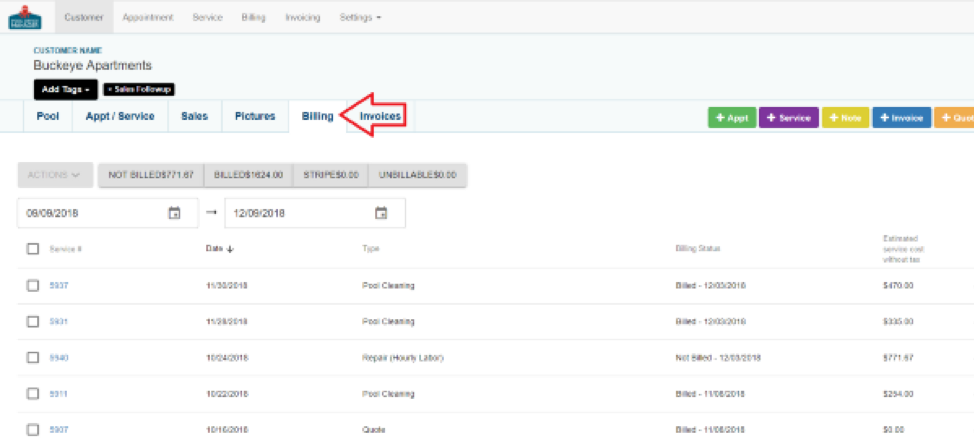
Once the invoice is finalized with any changes that may have been needed, simply select Send Invoice.