Tags — Creating and Applying TagsUpdated 2 years ago
Tags
Tags enable you to label, filter and categorize your customers as needed. Tags can be used in the customer, appointment, service and billing pages to help keep you organized.
Video: https://youtu.be/cElsU691b1c
Customer>Tags
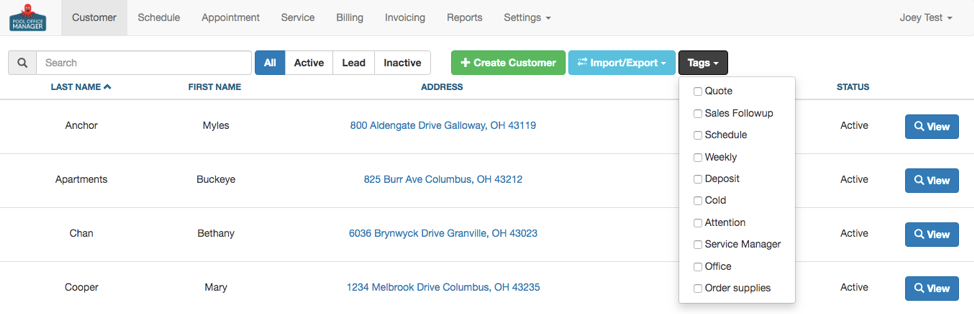
Tags are the boxes as seen above called “Quote, Sales Followup, Schedule, etc…”. By checking a box, you can filter the customers which that tag applies to.
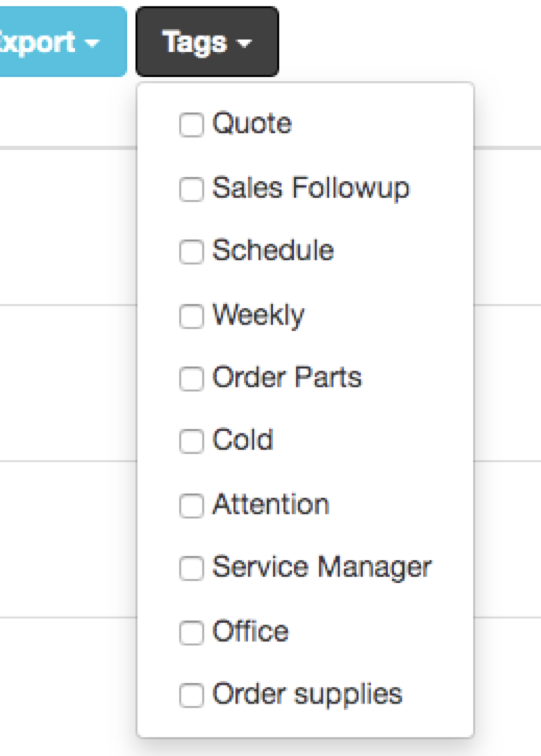
Filter Customers by Tags
Customer> Tags Button> Choose Tag
To filter customers by a specific tag, you can choose the tag to view customers with a similar trait.
Create a Tag
Settings> Edit Tags
Here you can delete any existing tags or create new ones. Select Add Tag to enter a new tag and click Save Tags when finished.
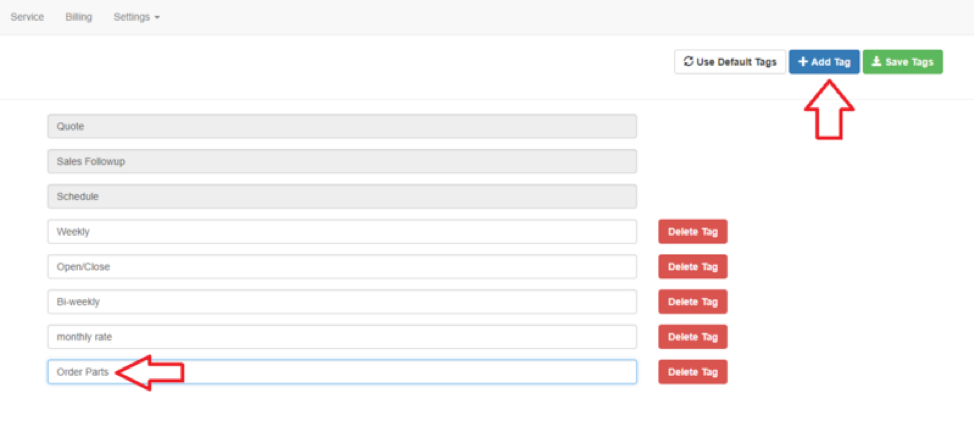
Now you can apply your newly created tag to the appropriate customers.
This feature can be helpful if you want to filter the customers that need parts ordered, because you can create a tag titled “Order Parts.”

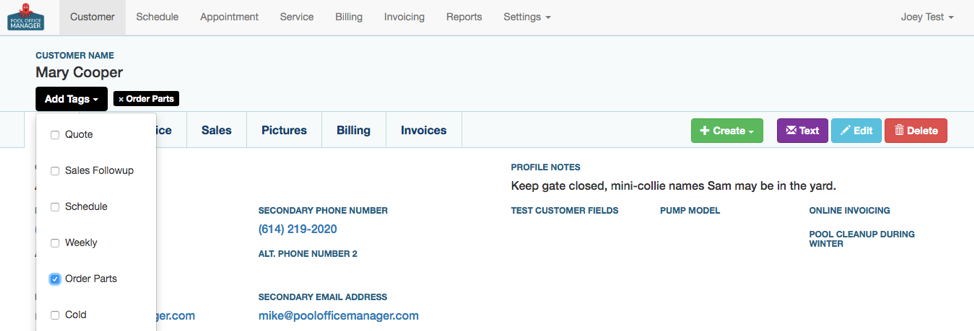
Add/Edit a Tag to a Customer
Customer> Customer Profile> Add Tags
These tags can be selected on a customer by customer basis to help you stay organized. You can easily add or change the status of a customer by checking/ uncheck boxes so the tags are accurately assigned.
Automation of Tags with a New Customer
Customers> + Create Customer
When a customer is created, the Quote tag will be auto-selected. Then, when a Quote is emailed to a customer, the Sales Followup tag will be auto-selected.
When a Quote is signed by a customer, the Schedule tag will be auto-selected. Then, when an appointment notification is emailed to a customer, the Schedule tag will be automatically deselected.
Resources!
Check out our website: https://poolofficemanager.com/
Help number: 614-710-0074 ext 3