Quickbooks POS — Converting Service Reports into InvoicesUpdated 2 years ago
Converting Service Reports into Invoices
Video: https://youtu.be/Y3joV_07jR8
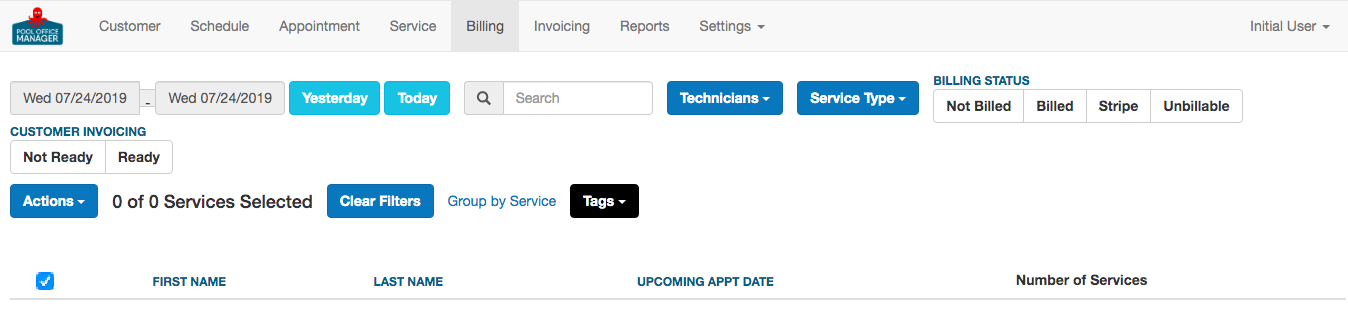
Billing Tab>
-
The Billing Page in Pool Office Manager is only accessible with an admin account
-
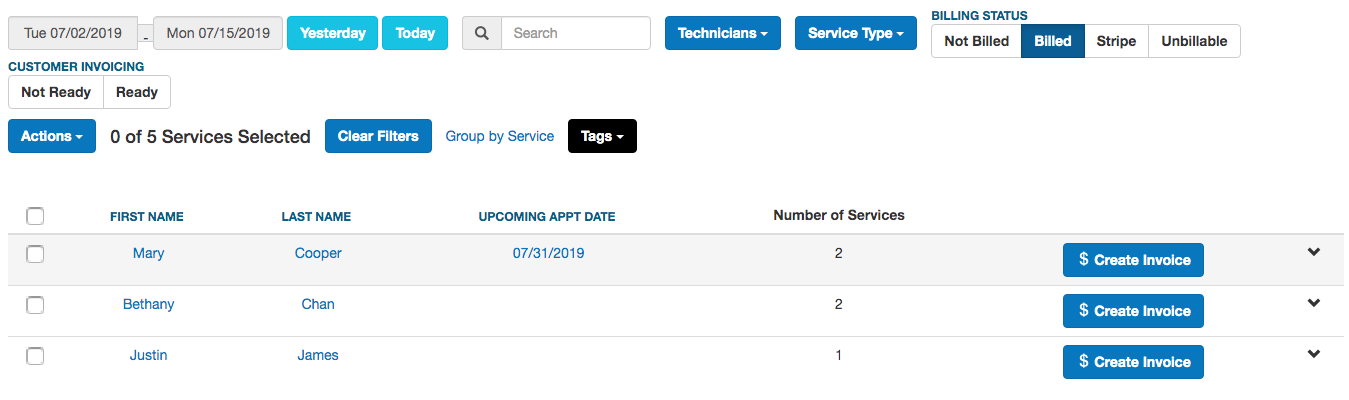
Select the desired date range and billing filters to determine which services need to be invoiced to the customers.
-
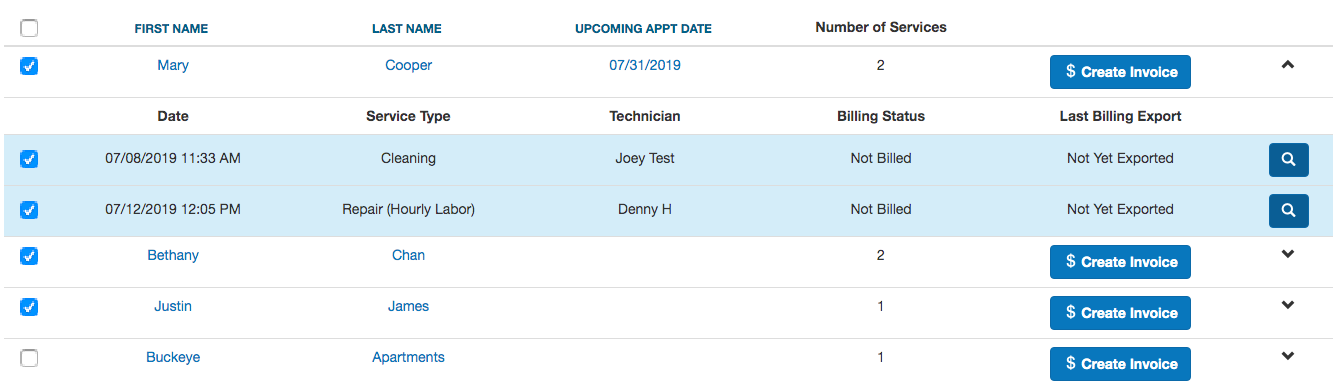
Use the check-boxes on the left side of the page to select all or any of the services to convert to an invoice.
-
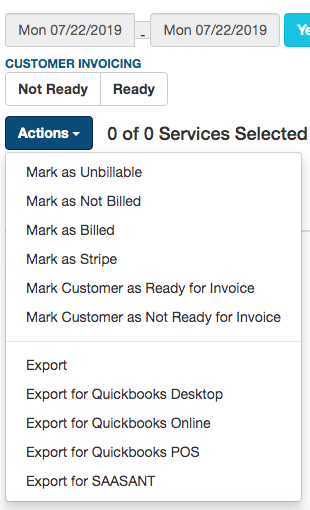
Click the Actions button and click Export for QuickBooks POS
-
At this point, you will receive a question "Do you want to mark these services as Billed and No Longer Ready to Invoice?" By answering "Yes," these invoices will be marked as Billed.

-
If I go to the "Billed" Tab, you'll notice that all the invoices I sent to Quickbooks POS are now considered Billed.
-
This will generate a file to be used in conjunction with our 3rd party tool. Save this file and make sure the file is CLOSED before proceeding.
Dowload and install the Free Trial of Zed-Axis Importer Tool: https://www.zed-systems.com/axis-import.html
-
Open QuickBooks POS and Login
-
Then Open Zed Axis
-
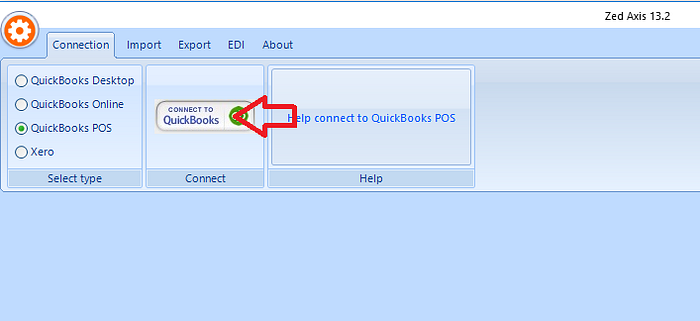
Inside the Zed Axis tool, select QuickBooks POS then click the button on the right Connect to QuickBooks
4. Enter the QBPOS Company Name and the version of POS you have installed, if unsure, it should display on your Quickbooks:

Name and Version

5. Once successfully connected, you'll get a confirmation popup.
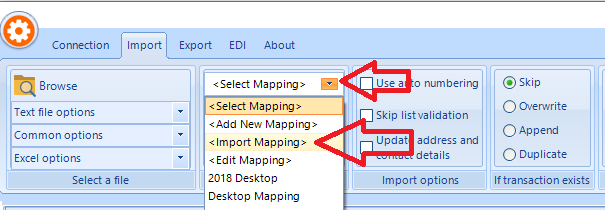
6. Go to the import tab and browse for the file you just downloaded and open it.
-
Select the checkbox for Use auto numbering, and select the Duplicate button
7. Once your data is loaded into the tool,
8. Download the QuickBooks POS Mapping file here, can copy/extract the file to your desktop or folder on your computer
9. Under Setup column mapping select the dropdown and click Quickbooks POS Mapping
-
Choose the file that your downloaded and select OPEN. If you do not see the file, be sure to drag the file from inside downloaded folder, to your desktop
10. Select Import
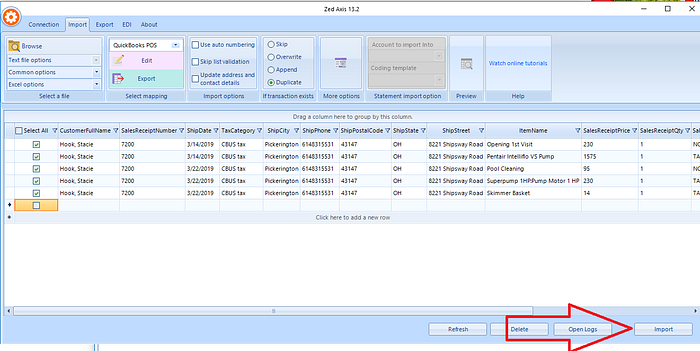
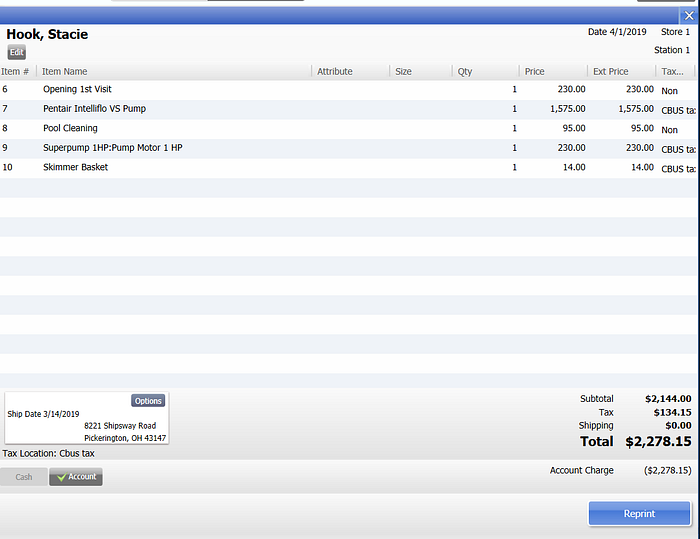
11. When it is complete, review the Summary for any issues or errors. Select the ‘View’ button to open the sales receipt in QuickBooks POS
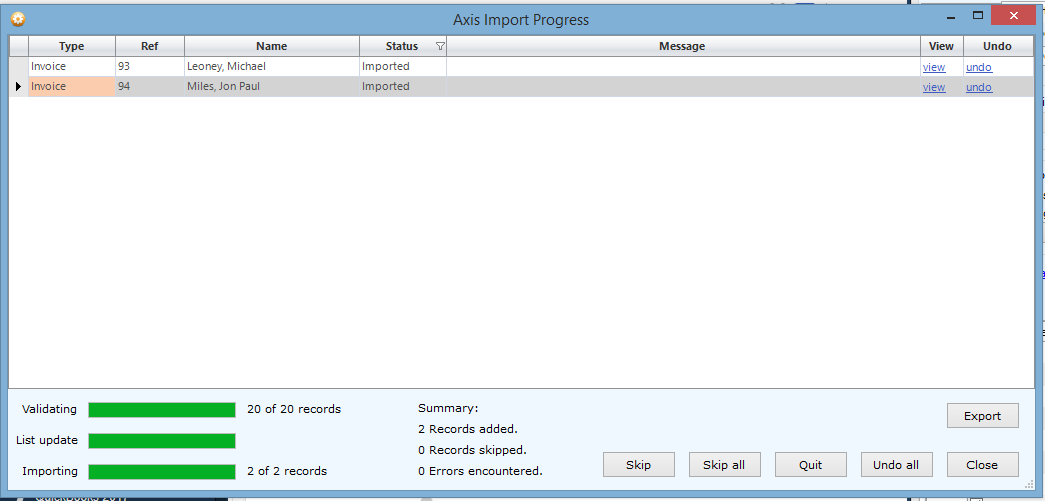
-
You can close out of the tool and verify that QuickBooks now contains the invoices for the services you transferred.